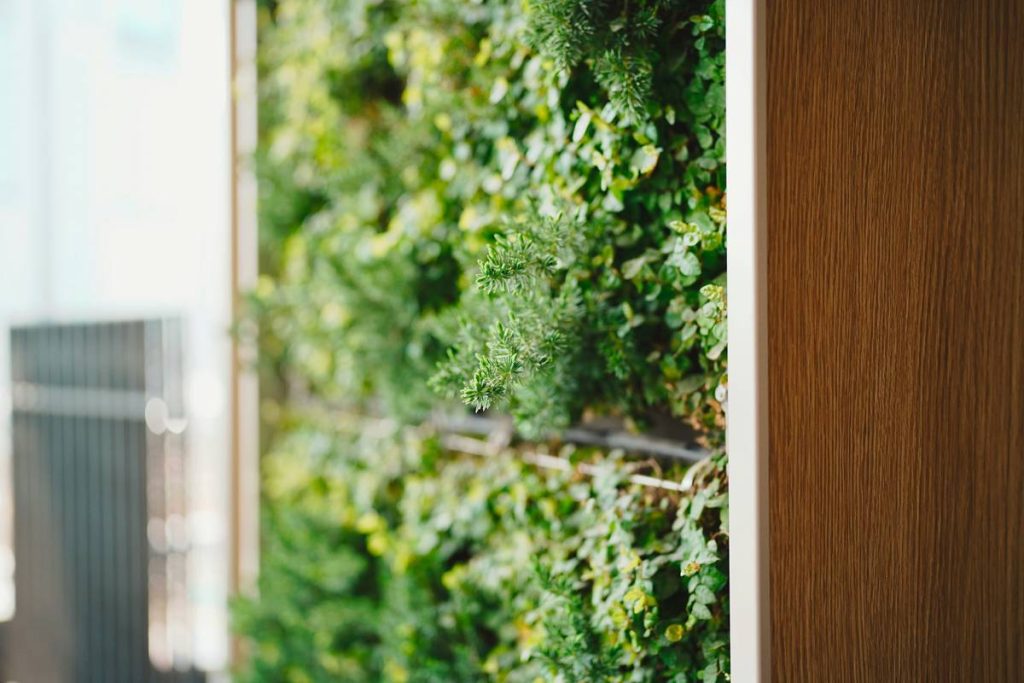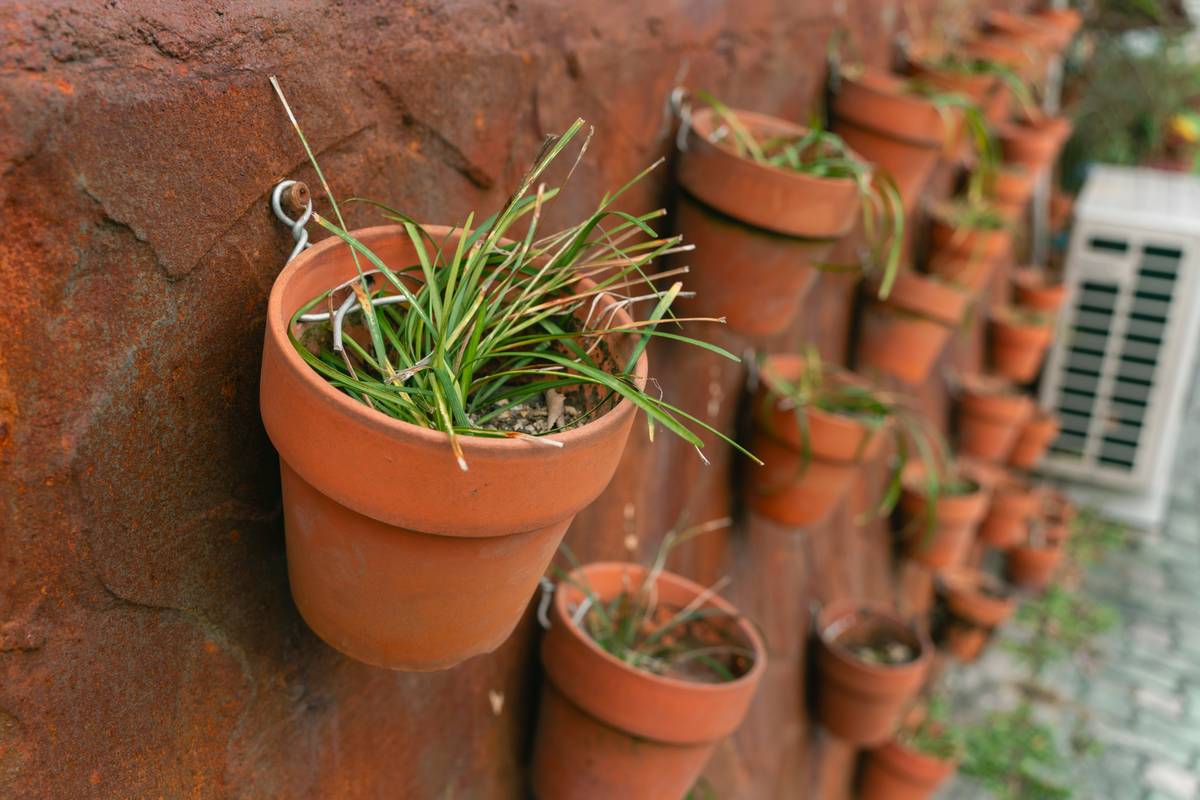
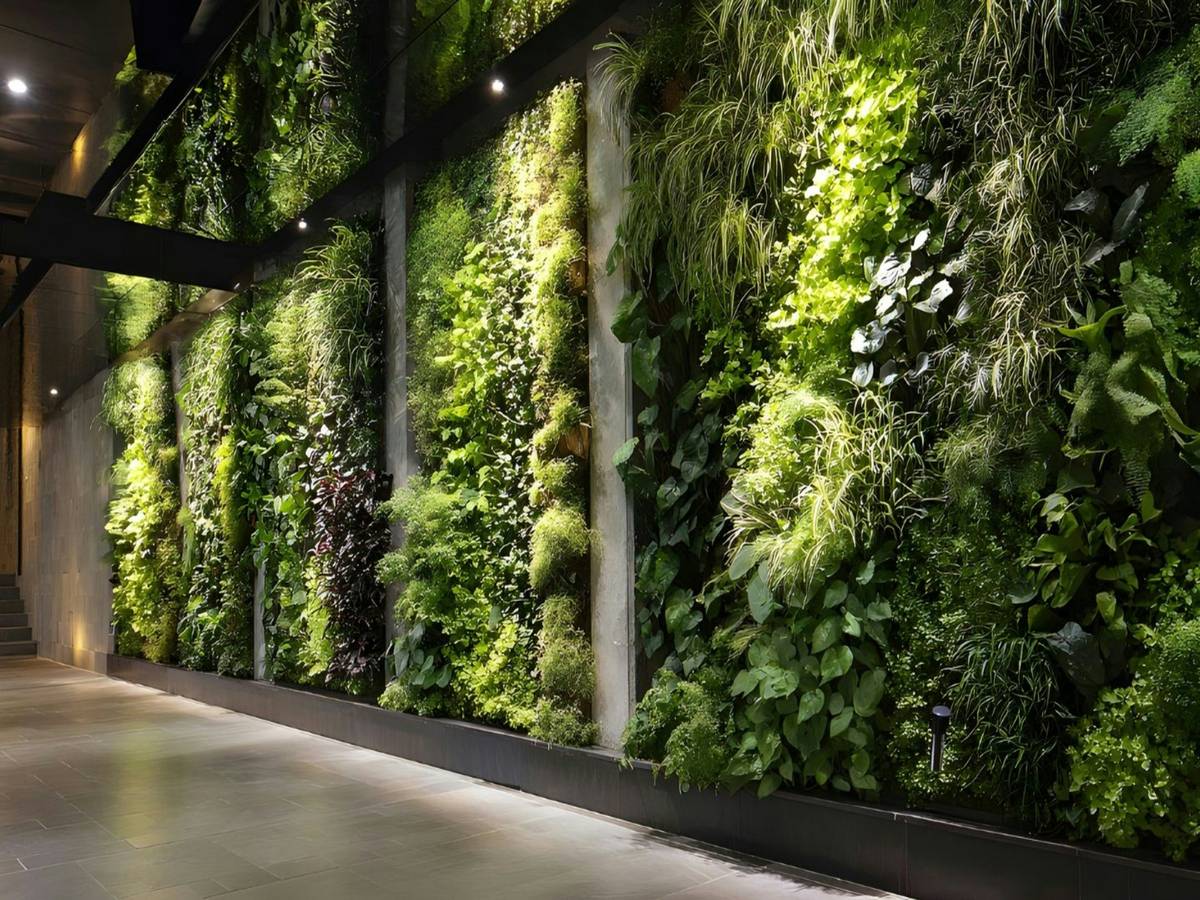
You’ve got a tiny patio, a narrow balcony, or maybe just a blank exterior wall screaming for life—but floor space is non-negotiable. Traditional pots eat up square footage, tip over in Denver’s gusty spring winds, and look cluttered fast. And yet, you still want lush greenery that says “curated,” not “crowded.” The fix? Vertical gardening with purpose-built planters for walls outdoors—engineered for weather resistance, drainage, and visual impact.
Why Most Outdoor Wall Planters Fail Within a Season
Most homeowners grab the first hanging pot they see at the big-box store. Big mistake. Those flimsy plastic or thin metal designs crack under UV exposure, hold zero insulation against Colorado’s freeze-thaw cycles, and lack proper drainage—leading to root rot by July. Worse, they’re mounted with cheap screws that loosen after one winter storm. You’re not just buying a planter; you’re buying a system. If it doesn’t account for thermal expansion, wind shear, and water runoff, it’s temporary decor—not a solution.
And drainage isn’t optional. It’s survival—for your plants and your siding.
How to Choose & Install Planters for Walls Outdoors That Last
Material Matters More Than Aesthetics
Cedar and redwood resist rot naturally. Powder-coated aluminum won’t rust. Recycled composite blends handle temperature swings without warping. Avoid untreated pine or hollow ceramics—they degrade fast outdoors. Yes, they look pretty in photos. But real-world durability beats Instagram appeal every time.
Mounting Depth Dictates Plant Health
Shallow pockets (< 5 inches) only work for succulents or air plants. Want herbs, ferns, or trailing ivy? You need at least 7–9 inches of soil depth. Otherwise, roots bake in summer sun or freeze solid come November. Measure twice—your greenery depends on it.
Drainage Isn’t Just Holes—It’s Architecture
The best outdoor wall planters slope slightly forward to channel excess water away from your home’s facade. Some even include hidden reservoirs that wick moisture back up during dry spells. Look for integrated overflow channels—not just drilled holes that leak onto your stucco or brick.
| Planter Type | Best For | Avg. Lifespan (Outdoors) | Cost Range (Per Unit) |
|---|---|---|---|
| Powder-Coated Aluminum | High-wind areas, modern homes | 8–12 years | $45–$85 |
| Cedar Wood Boxes | Traditional aesthetics, edible gardens | 5–7 years (untreated), 10+ (sealed) | $35–$70 |
| Recycled Composite | Low-maintenance, consistent color | 10–15 years | $50–$95 |
| Thin Plastic/Resin | Temporary seasonal use only | 1–2 years | $15–$30 |
The Industry Secret: Angle Over Aesthetic
Here’s what 90% of designers won’t tell you: the tilt angle of your wall planter affects plant survival more than material or brand. In Denver’s high-altitude sun, vertical surfaces get brutal afternoon exposure. A planter tilted just 10–15 degrees forward creates micro-shade for roots while improving rain runoff. I tested this on two identical rosemary setups—one flat-mounted, one angled. After one summer? The flat one was scorched and brittle. The angled version thrived. The math is simple: physics beats fashion. Always prioritize functional geometry over perfect symmetry.
FAQ
Can I mount wall planters on vinyl siding?
Yes—but never attach directly. Use furring strips or mounting boards to avoid puncturing the siding’s expansion gaps. Direct screws cause cracking and water intrusion.
What plants grow best in outdoor wall planters?
Choose shallow-rooted, drought-tolerant species: sedum, thyme, creeping jenny, or dwarf conifers. Avoid tomatoes or deep-rooted perennials—they’ll outgrow the space fast.
Do wall planters damage exterior walls?
Only if poorly designed. Quality planters include moisture barriers and forward-angled bases to keep water off your wall. Never install without a drainage gap behind the unit.